SMACC Guide: Advanced Lighting Techniques for Video Shoots
Proper lighting is critical for high-quality video production. Let’s dive deeper into lighting setups, equipment suggestions, and practical tips for different scenarios.
1. Static Lighting Setup: Three-Point Lighting
• Key Light: The main light source, angled at 45 degrees from the subject. This defines the mood and highlights your subject.
• Example: Neewer LED Panel Lights or Aputure Amaran 100D are affordable, high-quality choices.
• Placement: Mount on a light stand, like the Manfrotto 1005BAC Master Stand, for stable support.
• Fill Light: Softens shadows created by the key light. Position it opposite the key light, but at lower intensity.
• Example: Godox SL60W or Elgato Key Light Air is great for balancing shadows.
• Tip: Use a softbox or reflector to diffuse the light and prevent harsh shadows.
• Backlight (Hair Light): Adds depth and separation from the background. Place this behind your subject and above, aiming downward.
• Example: Neewer RGB660 for creative lighting options.
2. Lighting Color and Temperature
• Warm Lighting (2700K–3500K): Adds warmth, mimicking sunlight at golden hour. Great for cozy, inviting atmospheres.
• Example: Use GVM 800D LED lights that let you adjust color temperature.
• Cool Lighting (5000K–6500K): Mimics daylight and creates a clean, professional look. Use this for sharp, neutral scenes, often in interviews or office setups.
• Example: Aputure Light Storm LS C120D II offers professional-grade, adjustable lighting.
3. Portable Lighting for Flexibility
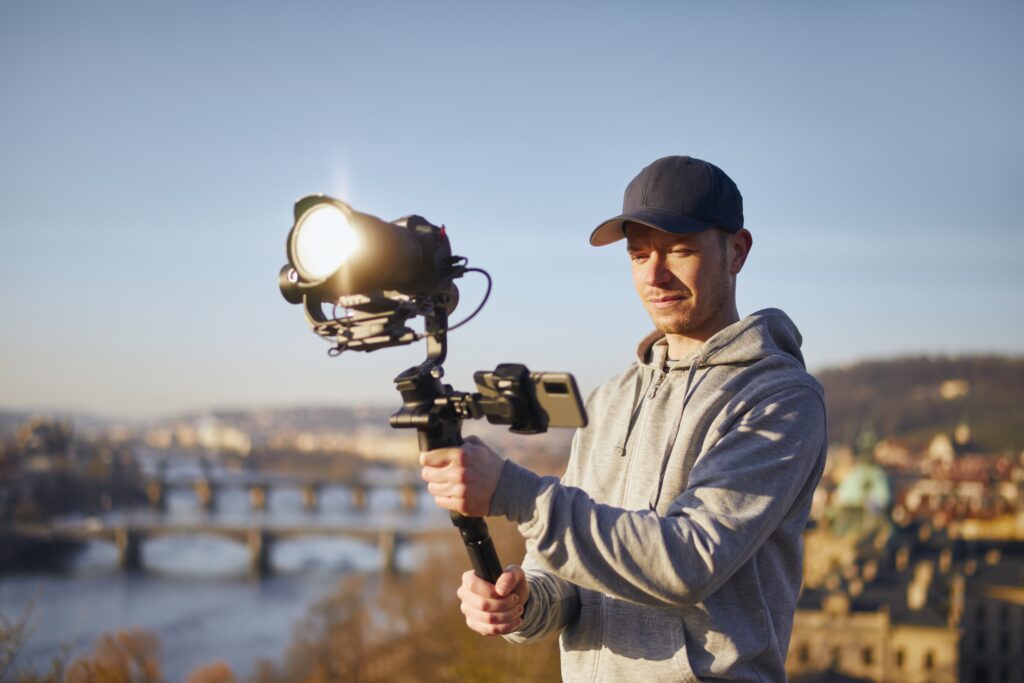
Portable lighting is perfect for on-the-go shoots or mobile setups:
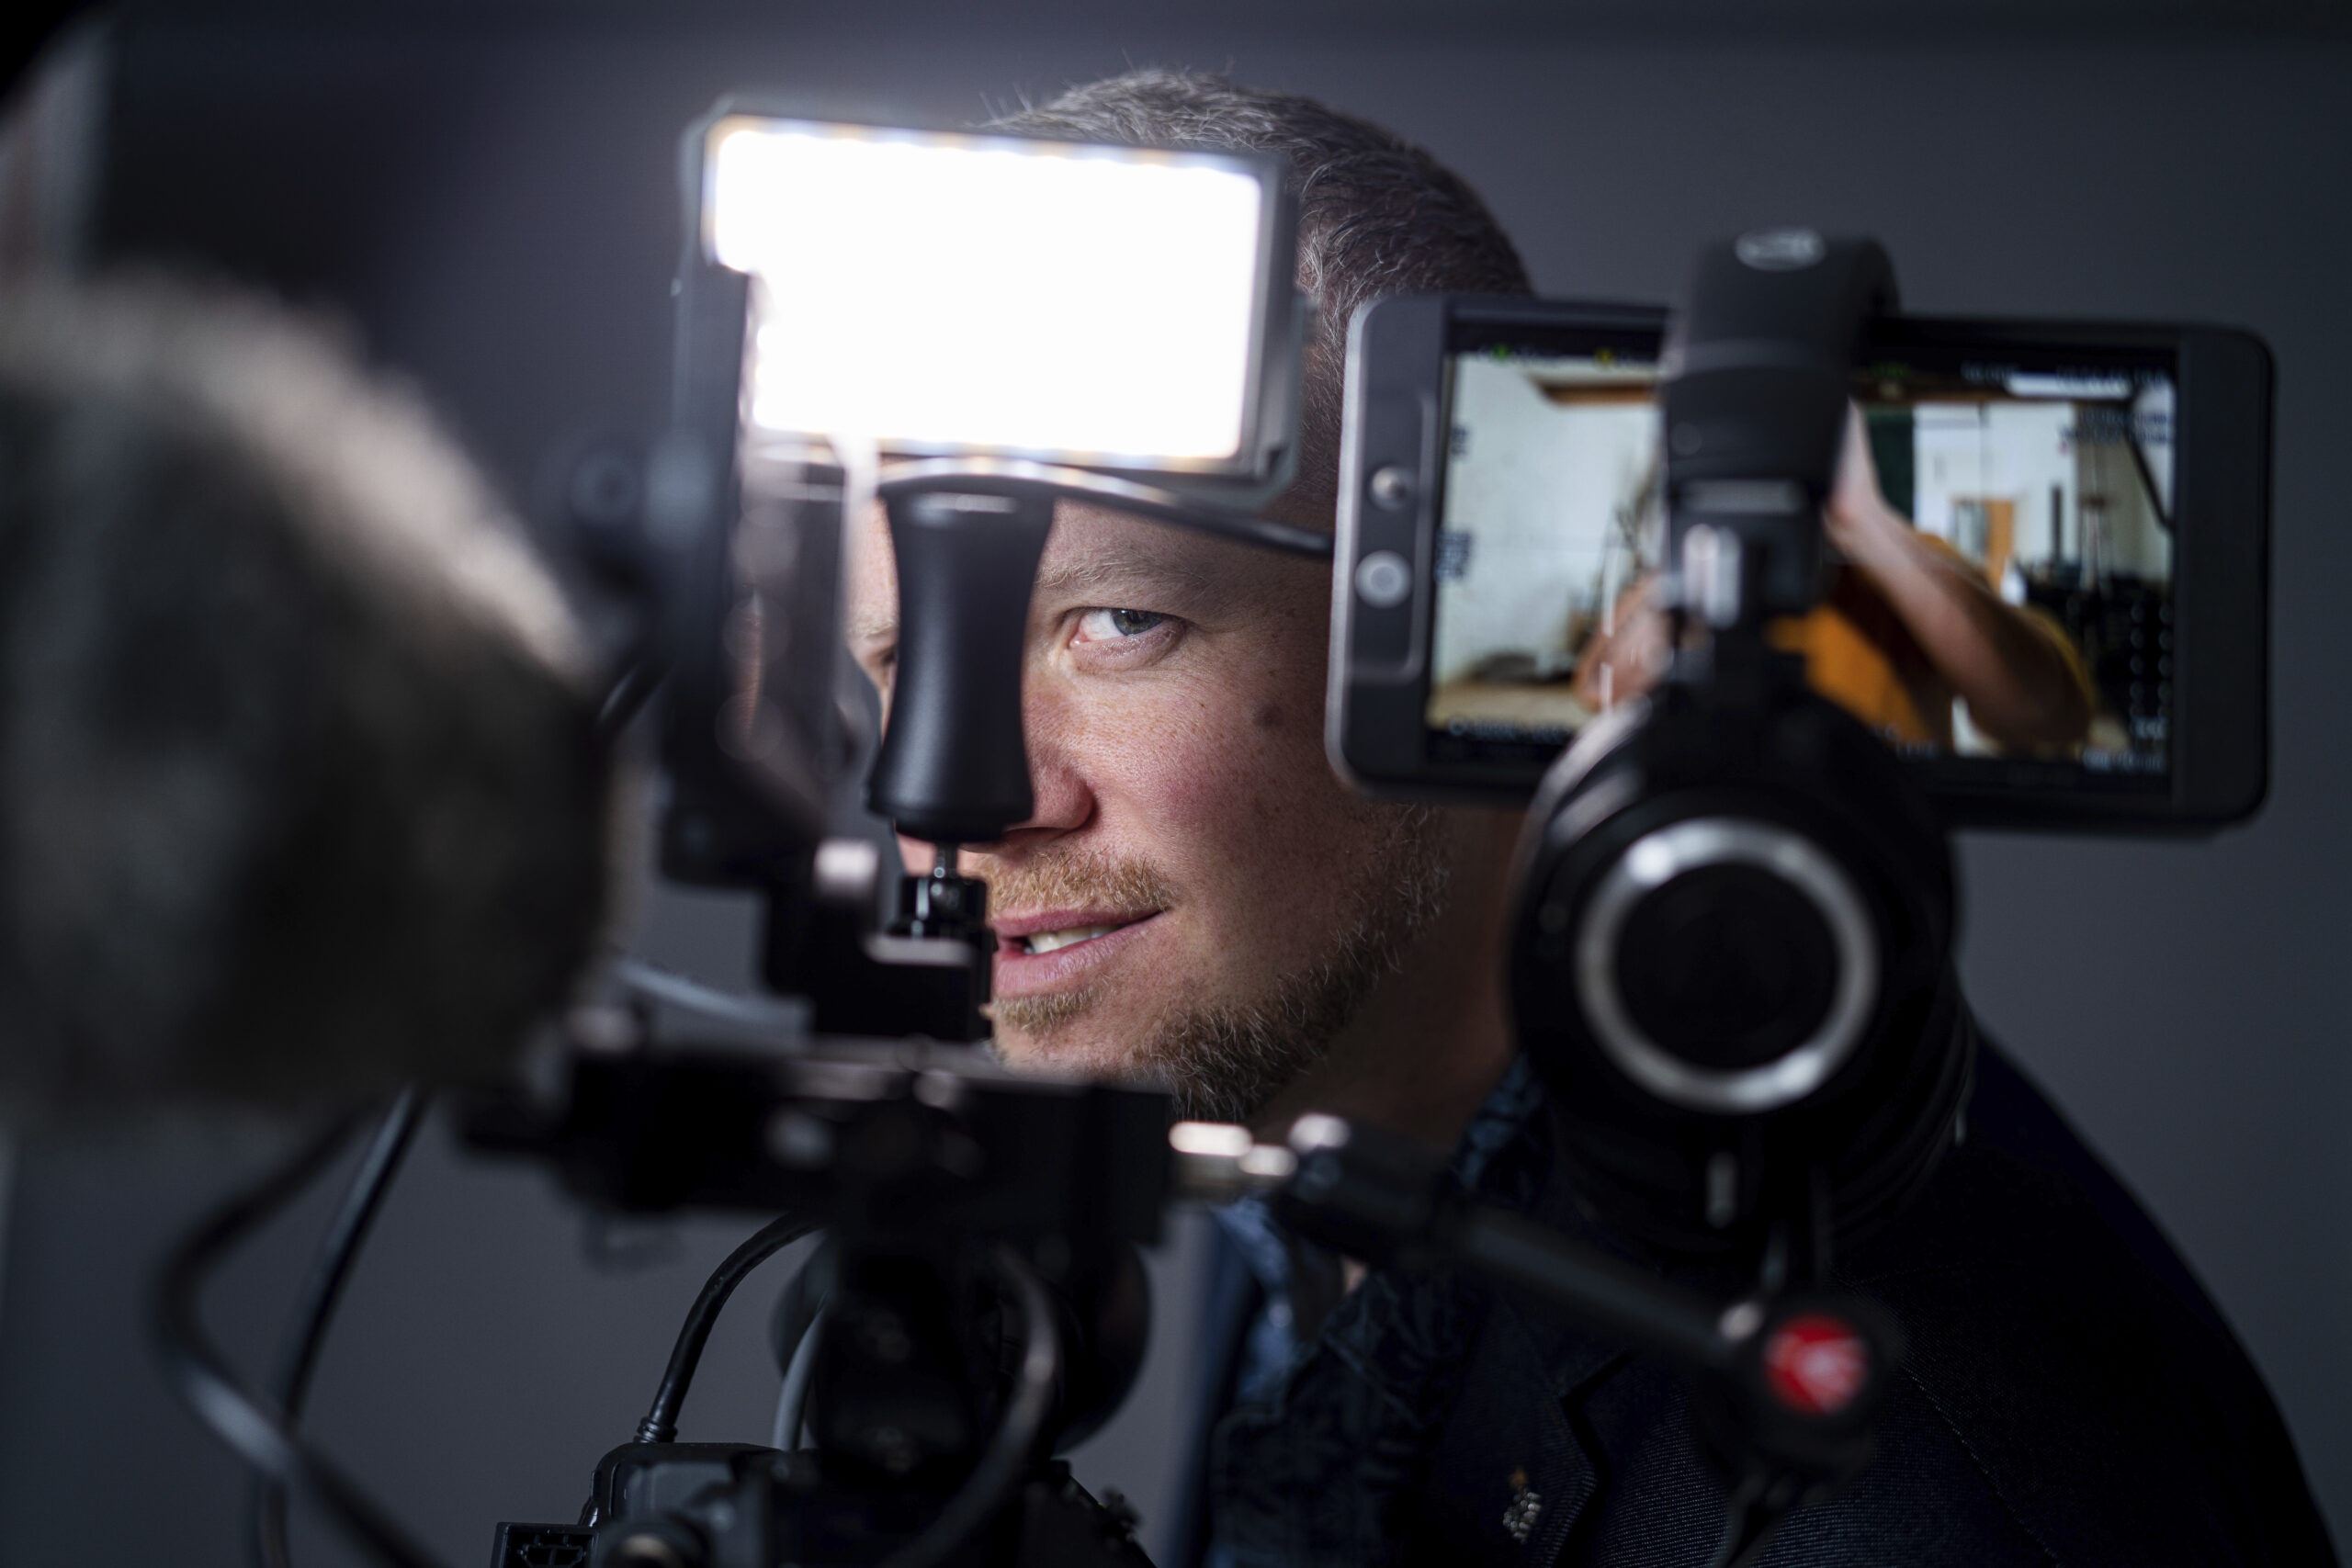
• LED Panels like the Neewer 660 RGB Bi-Color LED or the Lume Cube Panel Mini are compact and easy to move.
• Ring Lights: Ideal for beauty shots or close-ups. The Neewer 18” Ring Light is popular among vloggers.
• Battery-Powered: When filming outdoors, use battery-powered lights like the Aputure MC RGBWW for mobile versatility.

4. Holding and Positioning Lights
• Light Stands and Mounts: Use adjustable light stands for greater flexibility. Brands like Impact Heavy-Duty Light Stands offer adjustable heights and are sturdy.
• Clamps and Boom Arms: For overhead lighting or difficult angles, use a clamp like the Elgato Flex Arm or Neewer Boom Arm to secure lights without taking up floor space.
• Assistants: If you’re filming solo, having an assistant hold lights or adjust settings can dramatically improve lighting efficiency, especially with moving subjects.
5. Moving Subject Lighting
• Following the Subject: Use a portable or handheld LED panel to track moving subjects, ensuring consistent lighting as they move across the frame. The Aputure 300D Mark II with a portable battery is ideal for following action.
• Constant Lighting: If filming action scenes, make sure your lighting doesn’t create sudden shadows. Softbox kits like the Godox Softbox Lighting Kit can create even lighting across wider areas.

6. Using Diffusion and Reflectors
• Diffusion: Diffuse harsh lighting with softboxes, umbrellas, or even DIY diffusion paper. Soft light creates flattering shadows and reduces glare, perfect for interviews and beauty shots.
• Example: The Glow EZ Lock Softbox or Westcott Rapid Box is excellent for diffusion.
• Reflectors: Use a 5-in-1 reflector to bounce light into shadows. Gold reflectors add warmth, while silver enhances brightness. Reflectors are crucial when natural light is too harsh.
7. Practical Tips for Indoor and Outdoor Shoots
• Indoor Shoots: Control natural light by using curtains or blinds. Adjust your artificial lights to ensure balanced lighting.
• Tip: For interviews, use soft lighting to keep the subject evenly lit without harsh shadows.
• Outdoor Shoots: Natural light is unpredictable. Use reflectors to soften shadows or bring portable lights with batteries to add fill light.
• Tip: Shoot during golden hour (early morning or late afternoon) for soft, natural lighting.
By understanding lighting techniques, equipment options, and practical tips, you can elevate the quality of your video content, ensuring professional-looking results every time. Whether you’re working with fixed setups or filming on the go, investing in proper lighting will make all the difference.


