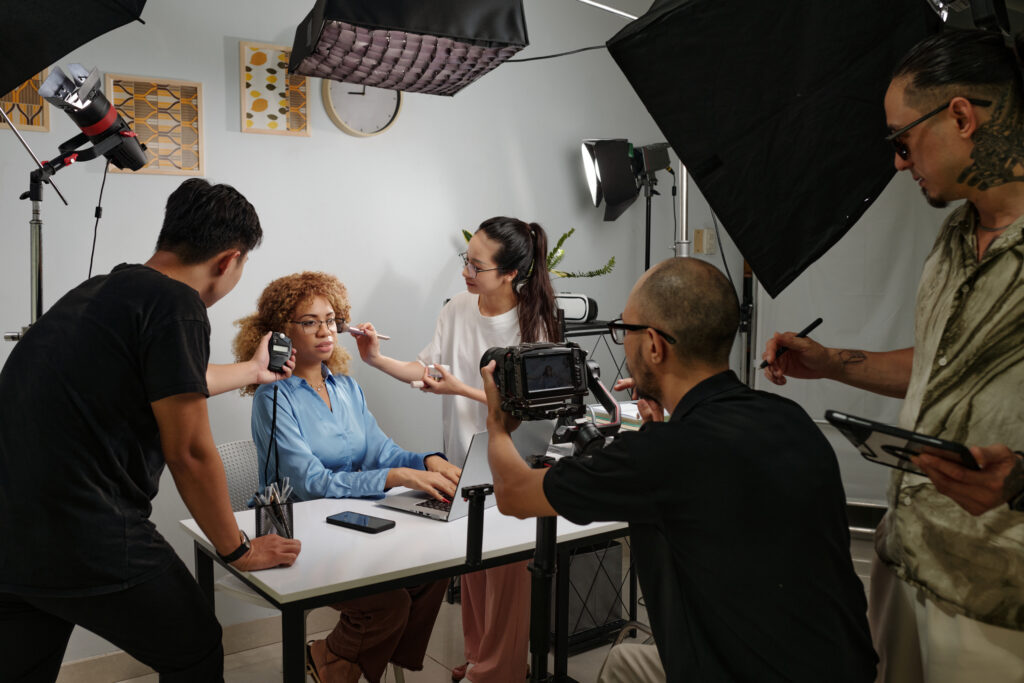
The Importance of Sound in Content Creation
When it comes to content creation, visuals often take the spotlight, but sound is just as crucial in delivering an engaging and impactful experience for your audience. Whether you’re producing a YouTube video, podcast, or social media content, high-quality sound can elevate your content, set the mood, and drive the narrative.
Let’s dive into the importance of sound, explore different recording methods, and examine how sound choices—like voice, music, and ambient sounds—shape the final product.
Why Sound Matters
Sound enhances the emotional impact of your content, helps clarify messaging, and improves the overall viewing or listening experience. Poor sound quality can be distracting, leading to disengagement. Imagine watching a suspenseful movie with no eerie background music or a podcast where the host’s voice is muffled and indistinct. The experience would be lackluster, and the emotional connection would be lost.
In content creation, sound does more than communicate—it influences how your audience feels. For instance, a classic movie like Psycho uses high-pitched violins to create suspense and tension, while upbeat music in travel vlogs adds excitement and energy. Content creators who master sound can greatly enhance the impact of their work.
Recording Methods: Tools and Techniques
Here’s a comparison of different methods used to capture and manipulate sound during content creation:
Method Description Best Use Pros Cons
Built-in Microphones Microphones built into cameras or phones Casual content like vlogs or on-the-go shooting Convenient, no additional equipment Often poor quality, picks up background noise
Remote Microphones Wireless microphones clipped onto the speaker Interviews, podcasts, outdoor shooting Portability, reduces background noise Requires monitoring for battery or connection issues
Directional Microphones Highly directional mic capturing sound from a specific area On-location interviews, focusing on a single speaker Focused sound capture, reduces ambient noise Can miss important background sounds
Separate Sound Tracks Recording audio separately from video using high-quality audio equipment High-end productions like films or promotional videos Superior audio quality, more control in post Requires syncing with video, more time-consuming
Sound Editing & Syncing The process of aligning separately recorded audio and video in post-production Professional projects, YouTube tutorials Full control over sound levels and effects Can be labor-intensive without the right tools
Multi-track Recording Recording different audio sources simultaneously, such as voice, music, and sound effects Podcasts, vlogs, films Flexible editing, isolate audio for refinement Can be complex and require specific software
Best Audio Formats and Manipulation in Editing
In content creation, file formats matter. The most commonly used high-quality audio formats include:
• WAV: Lossless format, offering the best sound quality for professional content creators.
• MP3: Compressed format, suitable for quicker uploads and downloads while maintaining decent quality.
• AAC: Often used in YouTube or streaming content, offering better quality than MP3 at the same file size.
When manipulating sound in post-production, tools like noise reduction, EQ (equalizer), and compression help refine the final output. For instance, you might reduce background noise in a vlog recorded outdoors, or balance out the volume levels in a multi-speaker podcast.
When to Use Voice vs. Music vs. Ambient Sound
The choice between voice, music, and ambient sounds depends on the message you want to convey:
• Voice: Ideal for instructional content, interviews, or podcasts where clear communication is key. For instance, a YouTuber explaining a product needs clean, direct audio without distractions.
• Music: Sets the tone or emotion of a scene. An upbeat soundtrack can energize a travel video, while calm music may be perfect for a lifestyle vlog. In classic movies, soundtracks like Jaws use music to build suspense and anticipation.
• Ambient/B-roll Sound: Background noise, like street sounds or nature, adds realism to your content. It immerses the viewer in the environment. B-roll sound is often used in documentaries or lifestyle content to keep scenes feeling natural.
Impact of Sound on the Final Result
Let’s take two famous examples from film:
1. Suspense in Jaws: The iconic two-note score is simple yet incredibly effective. It immediately builds tension, even when the shark isn’t on screen, keeping the audience on edge. In content creation, adding suspenseful music can similarly heighten emotion and anticipation.
2. Emotion in The Lion King: The swelling orchestral score during Simba’s coronation scene is powerful, amplifying the emotion of the moment. Similarly, in a motivational video or heartwarming ad, music that stirs emotion can leave a lasting impact on the viewer.
Conclusion
Sound is not just a technical element; it’s a storytelling tool. In content creation, the right sound can make all the difference, helping you establish mood, clarity, and connection with your audience. From choosing the best recording method to mastering the use of voice and music, sound elevates your content to professional standards, leaving a lasting impression.
Syncing Sound in Editing: A Crucial Step for Professional Quality
One of the key challenges in content creation is ensuring that your audio is perfectly synced with your video. Whether you’re using an external microphone or recording sound separately for higher quality, syncing sound during post-production is a crucial step for maintaining a professional finish.
Here’s a breakdown of methods and tools you can use to sync sound in editing:
1. Manual Syncing
In manual syncing, you align the audio waveform with the video by matching visual cues (like someone clapping or speaking) with the corresponding sound.
• How it works: During filming, use a loud, sharp noise (like a clap or a clapperboard) at the start of the scene. When editing, match the spike in the audio waveform with the visual of the clap.
• Best for: Shorter videos or projects where audio is recorded on separate devices.
• Tools: Nearly all video editing software, such as Adobe Premiere Pro, Final Cut Pro, or DaVinci Resolve, allow for manual syncing by dragging and aligning the audio and video layers.
2. Auto-Sync with Software
Many professional editing tools offer automatic syncing features that save time by aligning audio based on waveforms or timecodes.
• How it works: Software like Adobe Premiere Pro, Final Cut Pro, and DaVinci Resolve has built-in audio sync tools. You simply select the video and external audio files, and the software analyzes the waveforms, syncing them automatically.
• Best for: Longer or complex projects where manual syncing could be too time-consuming.
• Tools:
• Premiere Pro: Use the “Synchronize” function to match clips by waveform or timecode.
• Final Cut Pro: Use the “Synchronize Clips” option for auto-syncing based on audio waveforms.
• DaVinci Resolve: Use the “Auto Align” option to sync by timecode or waveform.
3. Using Timecode
For high-end productions, both your camera and external audio recorder can use a shared timecode. Timecode is a unique frame-by-frame timestamp that ensures perfect synchronization.
• How it works: You set both devices to the same timecode settings, and the timecode is embedded in both the video and audio files. During editing, the timecodes are matched automatically, ensuring accurate sync.
• Best for: Large projects with multiple cameras and complex setups.
• Tools: Software like Final Cut Pro and Premiere Pro can use timecode data to align clips precisely.
4. PluralEyes for Multi-Camera Setups
If you’re working with multiple cameras or a mix of different audio sources, specialized syncing software like PluralEyes (from Red Giant) can simplify the process. It automatically syncs audio and video from various sources, even without a timecode.
• How it works: PluralEyes scans the audio waveforms from all your devices (cameras and microphones) and syncs them automatically. It’s particularly useful for complex setups involving multiple angles and audio sources.
• Best for: Multi-camera shoots, complex content, or projects with numerous audio files.
• Tools: PluralEyes integrates with Adobe Premiere Pro, Final Cut Pro, and DaVinci Resolve.
Tips for Syncing Sound:
• Record a reference sound: Always record a clear, sharp sound (like a hand clap) to mark the beginning of each take. This will create a visible spike in the audio waveform, making syncing easier.
• Monitor your audio: During filming, ensure that you monitor audio levels and quality, as this will make the syncing process more efficient later.
• Check sync before exporting: After syncing, play back your video to ensure that the sound remains aligned throughout the entire clip. Small drifts can occur, especially in longer takes.
Conclusion
Syncing sound in editing is essential for maintaining high-quality content. Whether you’re working on a vlog, an interview, or a large-scale production, properly synced sound ensures your content appears polished and professional. With the right tools and techniques, syncing sound can be streamlined, allowing you to focus more on creativity and less on technical headaches.
For SMACC members, mastering sound synchronization is an essential skill that can greatly enhance the professionalism of your videos and improve audience retention. Whether you’re using automatic sync tools or manually aligning waveforms, getting this step right will elevate the overall production value of your content.
For SMACC members, investing in sound equipment and learning sound editing techniques can significantly improve the quality of your content—and with it, your audience’s engagement and trust.